
使用 mailutils 配合 Postfix 通过 QQ SMTP 发送邮件
1. 安装
1 | sudo apt install mailutils -y |
2. Postfix 配置向导
按向导逐步选择/填写:
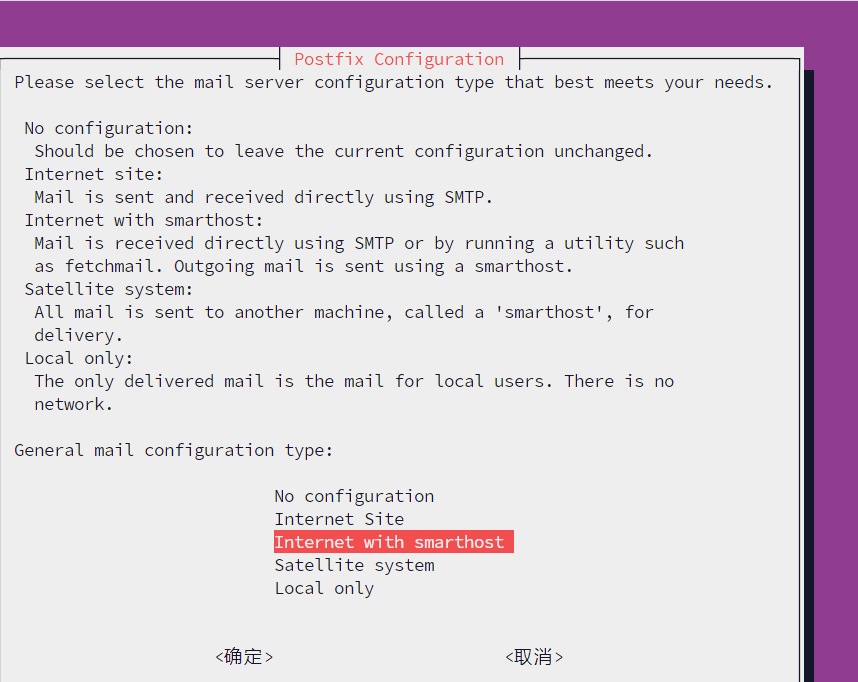
选择配置类型:第三个选项
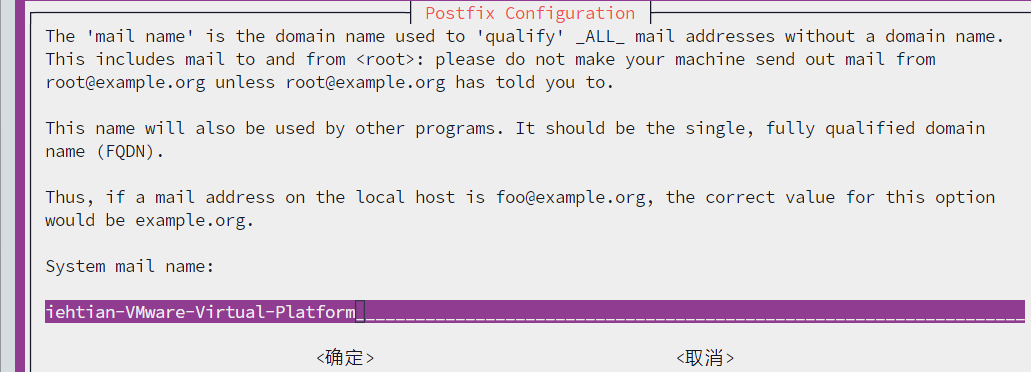
使用默认值
填写中继主机(relayhost):
[smtp.qq.com]:587
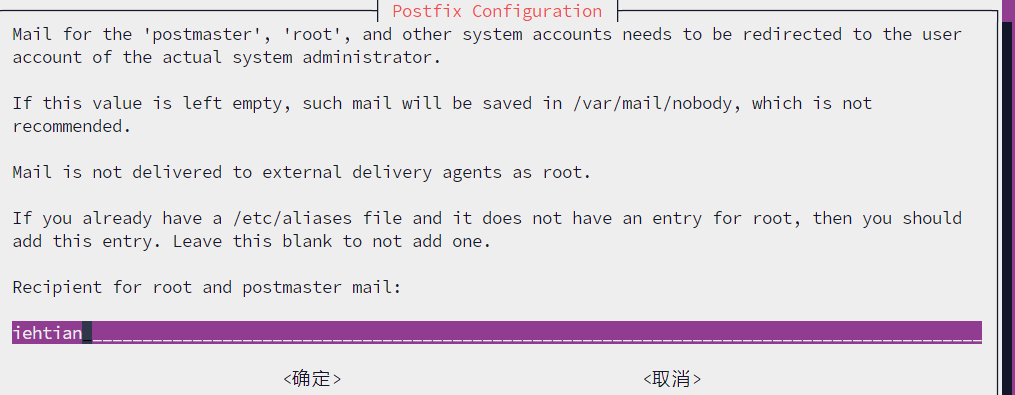
指定 root 邮件接收人(本地用户名或外部邮箱),此处示例为本地用户名
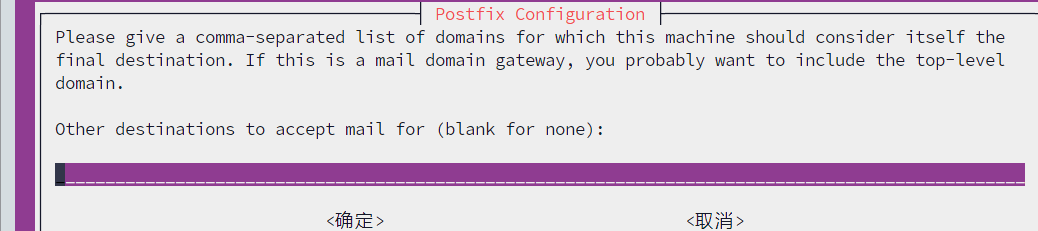
指定应投递到本地的域名。仅发不收,留空即可
系统策略:默认即可
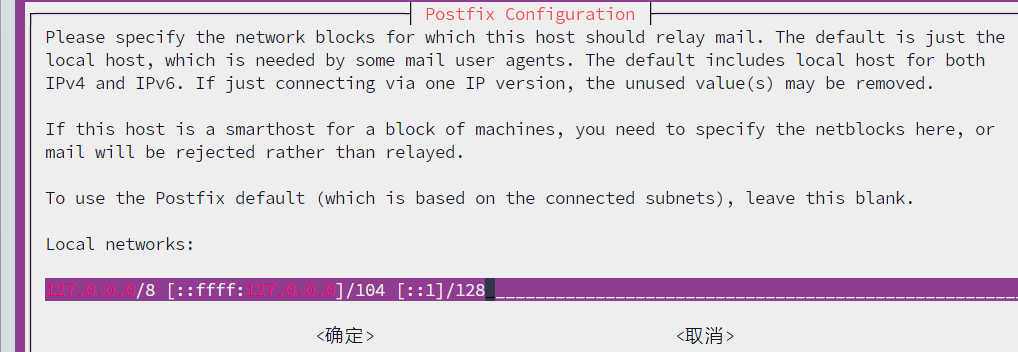
允许作为中继的网段:仅本地环回(默认)
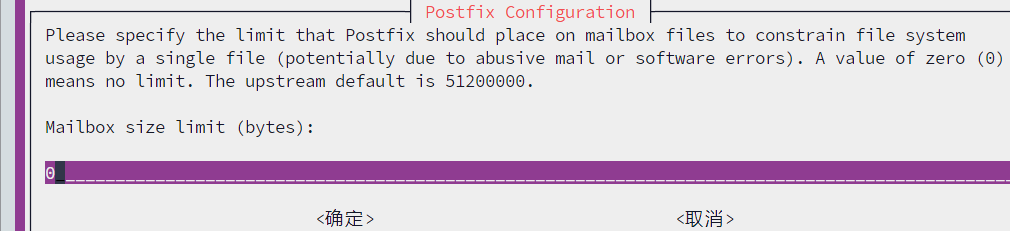
本地邮箱文件大小限制:使用默认的无限制
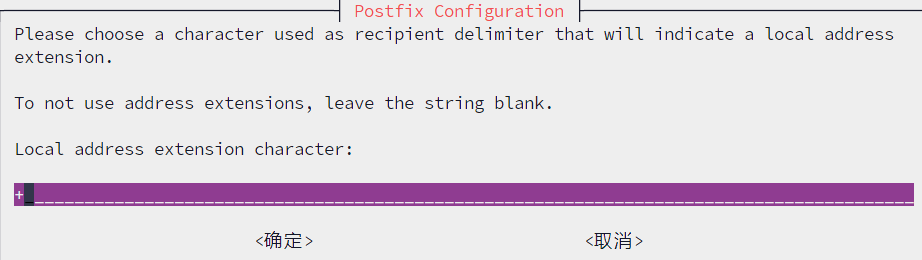
本地地址扩展分隔符:留空或默认
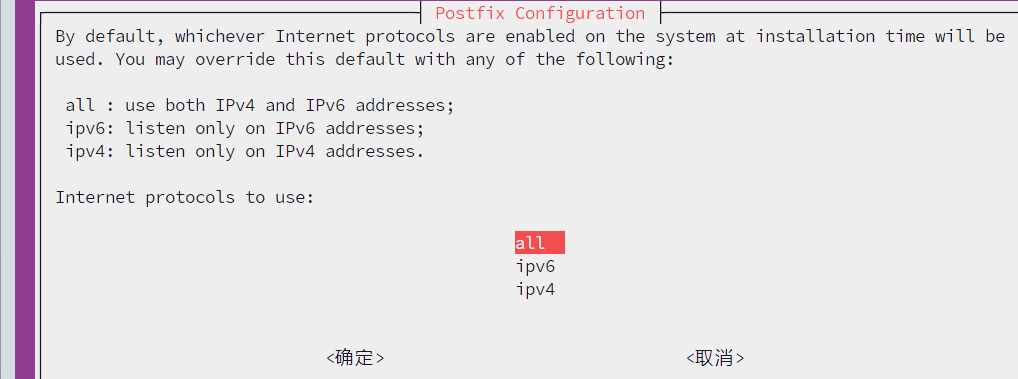
网络协议监听:默认 all 即可
3. 在 main.cf 中开启 TLS 与 SASL
编辑配置并追加以下内容:
1 | # 以下为 TLS 与 SASL 认证配置(relayhost 已在向导中设置为 [smtp.qq.com]:587) |
1 | sudo vim /etc/postfix/main.cf |
4. 配置 QQ 邮箱授权信息
编辑密码文件并生成映射、设置权限:
1 | sudo vim /etc/postfix/sasl_passwd |
文件内容示例(请替换为你的邮箱与授权码):
1 | [smtp.qq.com]:587 [email protected]:你的授权码 |
生成映射并限权:
1 | sudo postmap /etc/postfix/sasl_passwd |
5. 配置发件地址映射(generic)
先查看当前主机名:
1 | grep "^myhostname" /etc/postfix/main.cf |
编辑 generic 映射:
1 | sudo vim /etc/postfix/generic |
内容示例(将本机账户映射为你的 QQ 邮箱):
1 | iehtian@iehtian-VMware-Virtual-Platform [email protected] |
6. 重启服务
1 | sudo systemctl restart postfix |
7. 发送测试邮件
1 | echo "测试邮件 $(date)" | mail -s "测试邮件" [email protected] |
本博客所有文章除特别声明外,均采用 CC BY-NC-SA 4.0 许可协议。转载请注明来源 iehtian!